Recipes

Pistachio-Raisin Einkorn Scones

PRESconeAV3.jpeg

I always bake scones directly from the freezer, a few at a time, depending on how many I am serving.

When we remodeled I decided on a Rofco B5 oven from Pleasant Hill Grain Company for the “extra” oven to bake bread in. It came in particularly handy when the igniter on my other oven went out. I found out it works well for baked goods as well as breads. It has plenty of room even if you want to bake the full batch of these scones. I am still getting started with my Komo Classic Mill, but am already excited to try more. I liked the einkorn ground fairly finely for these scones, but didn’t do any sifting once it came through the mill.

RECIPE

Makes 12 scones 

340 grams einkorn berries

55 grams brown sugar

12 grams baking powder

3 grams fine sea salt

2 grams freshly grated lemon zest

1.5 grams ground cardamom

135 grams unsalted butter, cut into small cubes

180 grams crème fraîche

100 grams raisins, preferably a mix

50 grams shelled, salted pistachios

Melted butter, for brushing

Granulated sugar, for sprinkling


Grind the einkorn berries in a mill into a mixing bowl. Add the brown sugar, baking powder (sift in if it is at all lumpy), fine sea salt, lemon zest, and cardamom. Whisk together. Add the butter cubes and toss to coat in the flour mixture. Then using your fingers, rub the butter into the flour mix until about pea sized. Stir in the crème fraîche gently until the mixture begins to come together. Add the pistachios and raisins and continue to stir to evenly distribute. Keeping the dough in the bowl, bring it together with your hands until a cohesive dough.

Set the dough on a large piece of plastic wrap and pat into an 8-by 6-inch rectangle. Wrap up tightly and freeze for about 15 minutes to firm slightly.

 Unwrap the dough onto a cutting board. Cut the dough in half, then into thirds, and lastly cut each rectangular piece in half lengthwise to make twelve triangles. Arrange on the baking sheet. Wrap well and freeze for at least 2 hours, but preferably overnight. (They can also be in the freezer for about 1 month, but they probably won’t last that long.)

Preheat the oven to 400˚F.  

Set the desired number of scones to bake on a parchment or silicone baking mat lined baking sheet, leaving about 2 inches between. Brush the tops with butter and sprinkle with sugar. Bake until a rich golden, about 20 minutes.

Transfer to a cooling rack for at least 10 minutes.


Cauliflower-Crust (Do I Have to Call it) Pizza?

IMG_4542.jpg

My family is not vegan nor completely vegetarian, but we are often plant-based with little to no meat in a given week. A lot has to do with what I am working on and the recipes I am testing. However, I do recognize the value of keeping on our less meat path for our family’s health as well as that of the planet. When I can find extra time, I do hunt for recipes to build up my own repertoire. Cauliflower crusts are everywhere so I had to see what all the fuss was about. I made quite a few and decided I did like the vegan option. More importantly so did the family. (Making crusts with a beaten egg rather than the chia tasted very good and were probably slightly firmer after baking, but I decided this was a time I could go the full vegan route.)

I let everyone choose their own toppings. I decided it was a good time to try out some vegan “cheeses”. I was pleasantly surprised by those made by So Delicious. They tasted good and actually sort of melted. Good to know since quite often a lot of the vegan recipes have meat, cheese, and dairy alternatives. Not all bad, but for me not all good either. I definitely strive for less-processed foods as much as I do plant-based. And just because they are meat or dairy-free is the processing any better? (All new territory for me to delve in to.)

Along with my hang-ups with processed substitutions, I feel weird calling something by a name it isn’t. Especially when it is one of my favorite foods, pizza. Probably my east coast upbringing and sensibilities, but I have definite opinions from childhood on what are classic pizzas. But, as I got older and traveled, I recognized the value of letting some of that go and seeing American regional and world varieties that are no less authentic than my favorites. One of the many reasons I have so much respect for Tony Gemignani. His book The Pizza Bible breaks it down and the recipes are as authentic as can be.

Despite the fact that I am not ready to call this cauliflower crusted round a pizza, I will say it works really well with Tony’s Basic Tomato Sauce.


Recipe

Makes 2 medium or 4 individual 


Cauliflower Crusts
1 large head cauliflower, about 2 ¼ pounds
2 tablespoons nutritional yeast
1 ½ tablespoons ground chia seeds
¾ teaspoon granulated garlic (½ teaspoon if you want a more mild garlic flavor)
1 teaspoon kosher salt
½ teaspoon freshly ground black pepper

1 tablespoon coconut oil, melted

Tony’s Sauce
One 14-ounce can ground tomatoes
6 ounces tomato paste
¼ teaspoon dried oregano
½ teaspoon kosher salt
½ teaspoon extra-virgin olive oil
1 basil leaf, torn, optional

¼- to ½ cup pesto, optional (If you prefer pesto to tomato sauce.)
1 cup grated mozzarella cheese (Up to you if you want to try the vegan alternative.)
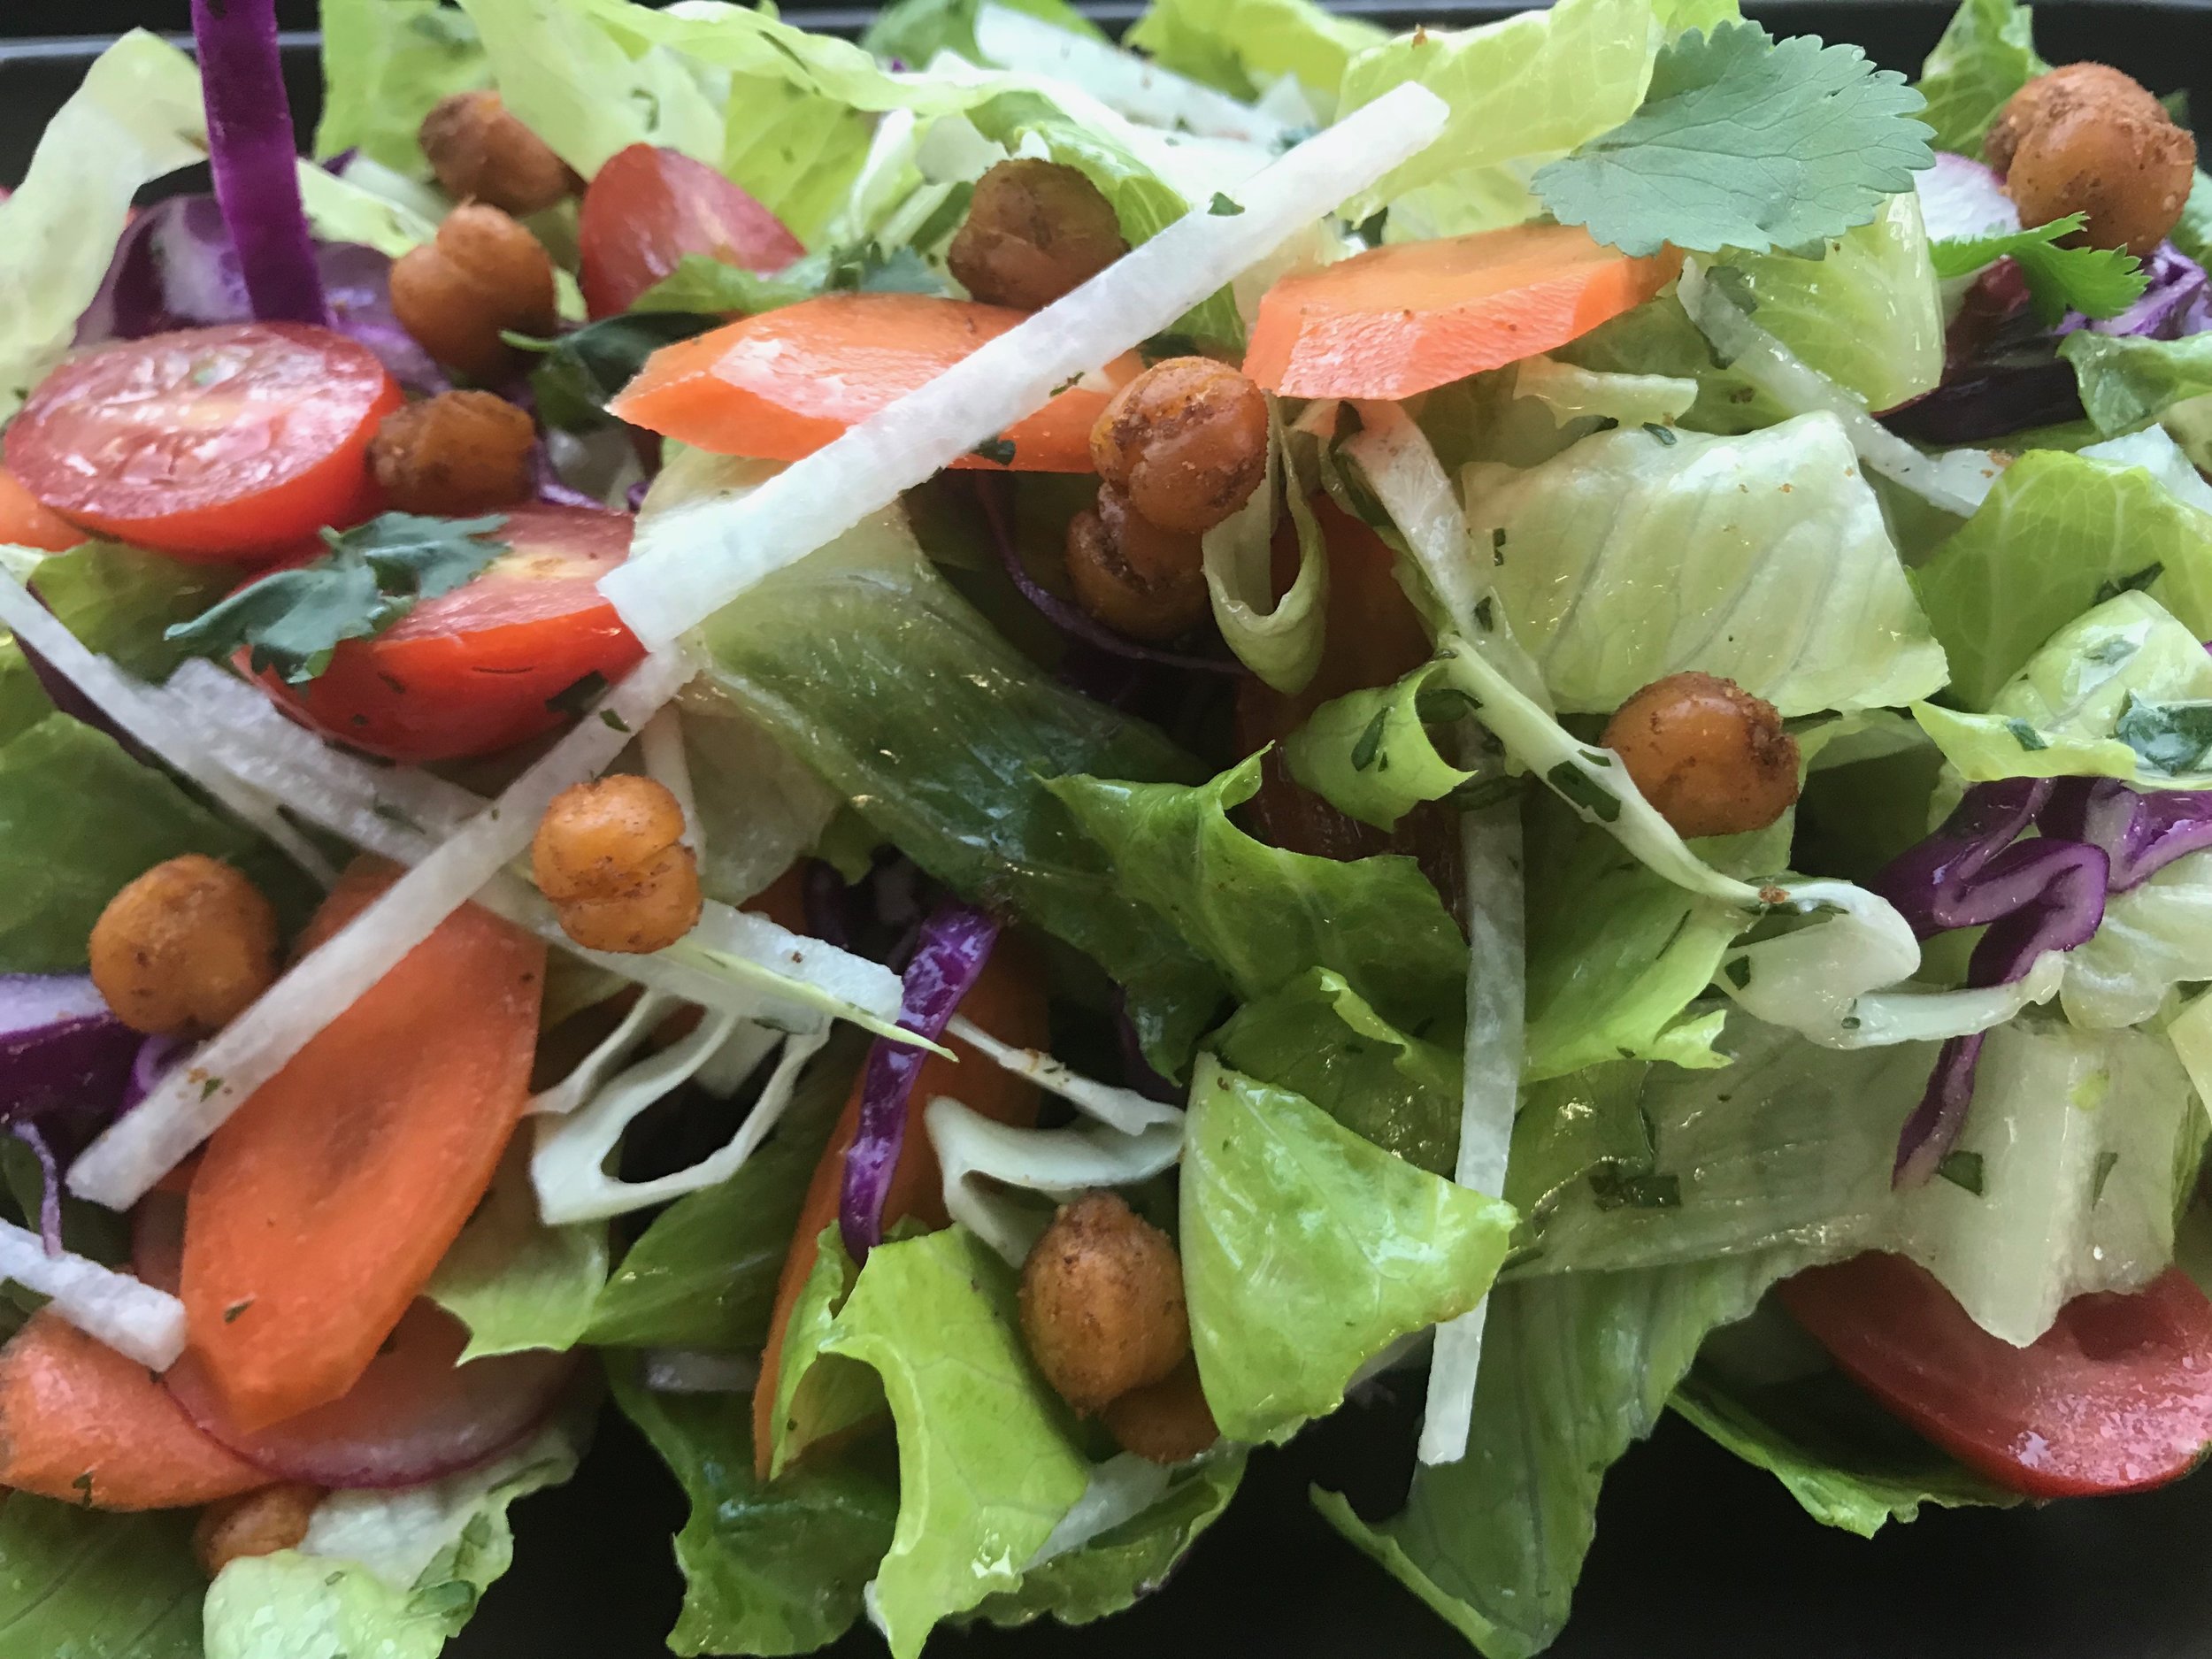
½ cup toppings of your choice


To Make the Crusts

Preheat the oven to 400˚F.

Cut the cauliflower into florets, leaving the tender stems. Working in batches, as needed pulse in a food processor until the texture of couscous. You will have about 6 cups.

Line a colander with a linen towel.

Put the cauliflower couscous in a large steamer basket set over simmering water. I have a huge steamer. Depending on what you have, this might need to be done in batches. Cover and steam until very tender, 10 to 15 minutes. Transfer to the lined colander and let cool. (Alternatively, the cauliflower can be cooked in a large pot of boiling water. I have also seen recipes that microwave the cauliflower couscous with some water, but I don’t have a microwave.)

Lift the cauliflower in the towel and squeeze out the excess water. I like to squeeze in this towel, then put in a dry towel and squeeze again. Transfer the cauliflower to a large bowl and add the remaining crust ingredients.

Line a baking sheet with parchment paper and brush with coconut oil.

For two medium pizzas, divide the mixture in half, mounding on the lined baking sheet, leaving room between, and press into two 8- to 9-inch circles.

For four individual pizzas, divide the mixture into quarters, mounding on the lined baking sheet, leaving room between, and press into four 4- to 5-inch circles.

Bake until the crust is slightly firm to the touch and looks dry, 20-30 minutes, depending on the moisture in the mixture.

I found the crusts can be removed from the oven at this point and held at room temperature for about 2 hours. (For us that’s the time we needed to go over to the schoolyard and run around for a while.) Before adding the topping, I put the crusts back in the oven for 5 to 10 minutes to warm up.

To Make the Tomato Sauce

Meanwhile, make the sauce. If you have an immersion (stick) blender, put the tomatoes, tomato paste, oregano, and salt in a deep bowl. Or put the ingredients in a traditional blender. Blend until smooth. Stir in the olive oil and the basil, if using.

To Finish

Remove the crusts from the oven. Spoon some sauce on each and spread over the top, leaving a ¼-inch border around the edges. Sprinkle with the cheese and then add any topping of choice. (If adding a green like arugula, do so after baking.) Return to the oven and bake until warmed through and the cheese is melted, 12 to 15 minutes more.

Transfer to a cutting board and cut into wedges.


Spaghetti and Meatballs

IMG_4647.jpg

Yes, it was St. Patrick’s Day, and yes, we try to eat less meat these days. But, when my post stomach bug daughter said, “Mommy can we have spaghetti and meatballs” and my still not feeling quite right husband replies, “that sounds good” that’s all I needed. Sometimes you just have to go for a big family-style bowl of spaghetti and meatballs with the cheese left out to add more as you twirl your way towards the bottom of the bowl.

This straight-up gravy is from my friends Christine and Carla Pallotta. My guess is it is 100% Angie’s, their awesome mom, who I am lucky to have also spent some time with. The Pallotta’s have Nebo Cucina & Enoteca in Boston, an extension of their childhood kitchen and recipes. I haven’t been since they changed locations, but one day. And when I get there I will eat and eat some more!

The meatballs are not theirs to a T, but pretty close. They might not approve of my changes, but hey, sometimes you have to break some rules. I add a bit of milk because my grandmother did. (No Christine, she wasn’t Italian.) And, I have a soft spot for oregano. I pretty much always use all beef even if I prefer the beef and pork combination and I use Parmigiano-Reggiano where they use Pecorino Romano. Why? Because that’s typically what I have in the house. I like and buy the organic ground beef that is 85% fat from Costco and usually have it in the freezer. I always have a hunk of Parmigiano-Reggiano in my refrigerator drawer. I can be out of almost everything else, but not the Parm.


Recipe
Serves 4 to 6, depending on appetite (or how recently the bug hits your house)

Christine and Carla’s Gravy
42 ounces (1 large and 1 small can) whole peeled San Marzano tomatoes
1 ½ tablespoons extra-virgin olive oil
1 small onion, thinly sliced
1 teaspoon kosher salt
½ teaspoon freshly ground black pepper

Meatballs
1 ¾ pounds ground beef (or 1 ¼ pounds ground beef and ½ pound ground pork)
¼ cup unseasoned breadcrumbs
1 tablespoon whole milk
1 large egg, lightly beaten
2 tablespoons finely grated Parmigiano-Reggiano
1 garlic clove, grated with a Microplane
1 tablespoon finely chopped flat-leaf parsley
½ teaspoon dried oregano
1 teaspoon kosher salt
½ teaspoon freshly ground black pepper

Avocado oil or other neutral oil
1 pound spaghetti
A nice hunk of Parmigaino-Reggiano


To Make the Gravy
Blend the tomatoes and their juices in a food processor or blender.

Heat the olive oil in a Dutch oven over medium-high heat. Add the onions and cook until translucent, about 5 minutes.

Using a slotted spoon remove the onions from the oil and discard the onions or save for another use.

Add the tomatoes to the saucepan and season with the salt and pepper. Bring to a low boil. Cook at a simmer, stirring occasionally for 15 minutes. (Go ahead and start the meatballs. If you are still finishing the meatballs, turn off the heat for the sauce until you have.)

To Make the Meatballs
Put all of the meatball ingredients in a large bowl and mix well with your hands. At this point, if you like things a bit tidier, you can pinch the meat into 18 portions, form all of the meatballs, putting them on a lined baking sheet as you go, and have them ready to fry. I prefer to form them right in the bowl and then start cooking them. I give them a final roll right before they go in the pan. Saves on clean up.

Heat a film of oil in a large skillet. Add the meatballs and cook in batches to keep from overcrowding. Do not turn the meatballs until they are nicely browned and can easily be lifted. Repeat the cooking and turning on all sides, about 10 minutes in total. They do not have to be cooked through. Put them right in the Dutch oven with the gravy.

Once the meatballs are in bring the gravy to a low simmer and cook for about 45 minutes.

To Cook the Spaghetti and Serve
Meanwhile, bring a large pot of salted water to a boil.

Add the spaghetti and cook according to the manufacturer’s instructions, about TK minutes.

Usually when I cook spaghetti and most other pastas I use a big metal strainer and go right into the gravy/sauce, but that’s tough with meatballs. First, scoop out about 1 cup of pasta water, set it to the side, and then drain the spaghetti. The spaghetti goes right back in the pot, then ladle in gravy, adding a little pasta water (you won’t use it all), tossing until the spaghetti is nicely coated.

Pour the spaghetti into a large family-style bowl or divide among individual bowls. Top with the remaining gravy and meatballs. Serve with the Parmigiano-Reggiano on the side.


Cold Sesame Udon Noodles

IMG_4502.jpg

For whatever reason, cold sesame noodles always remind me of my first solo apartment in Chelsea, New York City. I am sure it has something to do with late night take-out extravaganzas from Sammy’s with friends after a little (or a lot) too much drinking. Even on those nights of less discerning tastes, I preferred the noodles that were less peanut buttery.

When I started experimenting with batches myself, I noticed versions that used a Chinese sesame paste or tahini mixed with the peanut butter. I like this combination. So does my daughter. That’s why I usually leave out the sriracha. A little will give them a nice kick though.

The original Microplane rasp grater is a workhorse in my kitchen. It’s terrific for grating both garlic and ginger.

Unlike my 20’s when these would be matched up with scallion pancakes and dumplings, I now like these noodles paired with a simple salad of mixed greens with Sesame-Lime Vinaigrette and Sautéed Mixed Mushrooms.


Recipe

Serves 6

1 ½ cups sugar snap or snow peas
One 8-ounce package udon noodles or other sturdy, round noodle of your choice
1 medium red bell pepper, cut into bite-size strips
½ teaspoon freshly grated garlic
1 tablespoon seasoned rice wine vinegar
1 teaspoon freshly grated ginger
1 tablespoon toasted sesame oil
2 tablespoons less sodium soy sauce (my preference is Kikkoman)
2 tablespoons tahini
2 tablespoons smooth peanut butter
1 tablespoon water
Sriracha, optional
1 ½ teaspoons sesame seeds, lightly toasted
1 tablespoon thinly sliced scallions, light and dark green portion (I like to cut theon the diagonal.)


Bring a large pot of salted water to a boil.  Fill a small bowl with ice cubes.

Add the sugar snap peas to the boiling water to blanch, just to take out a bit of the raw taste, 2 to 3 minutes. Using a fine-mesh strainer or a slotted spoon, quickly scoop them out and put in the bowl of ice to stop the cooking. Dry on a towel.

Put the noodles in the same boiling water and cook according to the manufacturer’s instructions, usually about 7 minutes.

Meanwhile, put the garlic in a small mixing bowl. Pour over the rice wine vinegar and let sit for about 5 minutes.

Strain the noodles in a colander in the sink and immediately run cold water over them, tossing them until completely cooled and separated. Shake the colander to remove excess water. Let sit while preparing the sauce.

Add the ginger, sesame oil, soy sauce, tahini, and peanut butter. Whisk until smooth. The texture of the sauce needs to be loose enough to coat the noodles. Slowly whisk in the water to reach the desired consistency. Add sriracha to taste, if you like.

Give the noodles another toss and put the in a large mixing bowl. Pour over about three-quarters of the sauce, tossing to coat the noodles. Add the sugar snap peas, red pepper, and the remaining sauce, and toss again.

Transfer to a large serving bowl. Sprinkle with the sesame seeds and the scallions. Chop sticks are really great for serving them.


Sesame-Lime Vinaigrette and Sautéed Mixed Mushrooms

IMG_4450 2.jpg

With so many mixed greens available in the market, the greens can become as versatile as the usual salad toppers. And, sometimes all I want are the greens. With a bold vinaigrette like this one, I like a mix like organic girl Super Greens, that includes chards, choys, spinach, and arugula. A little vinaigrette will go along well.

This vinaigrette also works well with sautéed mushrooms (See Note on Mixed Mushrooms, Below), drizzled over roasted asparagus, or mixed with buckwheat soba noodles as part of a one bowl meal.


Recipe

Makes about 1 cup

1 ½ tablespoons finely chopped shallot
1/3 cup freshly squeezed lime juice
2 tablespoons seasoned rice wine vinegar
2 teaspoons honey
3 tablespoons toasted sesame oil
3 tablespoons neutral oil (my preference is avocado)
¼ cup less sodium soy sauce (my preference is Kikkoman)
Kosher salt
Freshly ground white or black pepper


Put the shallot in a small mason jar. Pour over the lime juice and rice wine vinegar. Let sit for 15 minutes.

Add the honey, sesame oil, neutral oil, and soy sauce. Secure the lid and shake.

Season to taste with salt and pepper.


Cooking Note, Mixed Mushrooms

I love mixed mushrooms, sautéed to be crispy on the outside, with a good chewy texture. And, like greens, there are some great mixes available that also can prove less expensive than buying all of the individual varieties. The other day, I bought two 8-ounce packages of Mycopia Chef’s Sampler and 4 ounces fresh shiitakes.

The secret to cooking mushrooms is to trim stems, cut, and cook by variety. What do I mean by this? Take your sampler pack and separate by varieties. Trim and then cut all of the trumpets the same size and put them in a pile. Repeat with the clamshells and any other varieties, making a separate pile for each. Set the trimmings aside if you think you’ll be making a stock. Lastly, remove the stems from the shiitakes and save for the stock or discard. Cut the tops and put them in their own pile.

Depending on the amount you are cooking, choose a frying pan or sauté pan that will hold each variety in an even layer. I know it sounds like too much effort, but plan on cooking each variety on its own. This is how to best ensure even cooking. Heat a generous film of neutral oil (my preference is avocado oil) in the pan over medium-high heat. Once shimmering, add the first variety of mushrooms. Cook, without stirring them until they begin to crisp, 2 to 4 minutes, depending on the variety and size. All mushrooms will vary on how much liquid they exude and how long to brown. Once they do start to brown, give the pan a flip or stir to cook a bit more on the second side. (If you were not using the sesame lime vinaigrette, now is when to season generously with salt.)

Remove the pan from the heat. Using a slotted spoon, transfer the mushrooms to a baking sheet or plate. Wipe out the pan and add and heat oil again, as needed. Repeat one variety at a time until all of the mushrooms are cooked.

Transfer the sautéed mushrooms to a bowl or storage container and spoon over the sesame lime vinaigrette. For two 8-ounce packages and 4 ounces of shiitake, I used 2 tablespoons. Keep in mind, as the dressed mushrooms sit, they will soak up the flavor. Garnish with toasted sesame seeds and/or thinly sliced scallions, if you like.


Cilantro-Lime Vinaigrette

IMG_4477.jpg

I think the tang of this vinaigrette is best with a crisper lettuce, like romaine. Or better yet, with a mix of romaine and some thinly sliced cabbage, like in my Almost Any Time of Year Crisp Salad.


Recipe

Makes about 1 cup

1 small garlic clove
¼ cup finely chopped lime juice
1/8 teaspoon ground coriander
1 teaspoon light brown sugar
½ cup neutral oil (my preference is avocado)
¼ cup finely chopped cilantro
Kosher salt
Freshly ground black pepper


Using a Microplane, grate the garlic into a small mason jar. Pour over the lime juice. Let sit for 15 minutes.

Add the ground coriander, brown sugar, and oil. Secure the lid and shake. Add the chopped cilantro and shake again.

Season to taste with salt and pepper.


Almost Any Time of Year Crisp Salad

IMG_4493.jpg

I am definitely someone who likes to eat in season, but can’t go all winter without a really ample bright salad with a lot of crunch. This one works pretty much year round with the hothouse varieties of some vegetables available. The only tomatoes I will even consider buying in the winter are the small grape or cherry varieties. Nothing like their summer cousins, but definitely will do. The same goes for cucumbers.

That’s why this is a perfect weeknight salad topped with Crispy Oven-Roasted Chickpeas pretty much any time. That is, if I plan ahead and buy all of the vegetables I like. If something is missing, no big deal, it’s the Cilantro Lime Vinaigrette that is really the key.

Inevitably there is the question of what to do with leftover cabbage. I know you can buy already prepped and shredded cabbage. And, if you like it, go for it. But, I find I do fine if I ask someone in the produce department to cut the cabbages and the jicama in half. Thinly slice some or all of the leftovers, add in some carrots and radishes, and toss with some vinaigrette for a crunchy slaw. Use it on top of beans, vegetables, fish or meat in a soft tortilla for tacos later in the week.


Recipe

Serves 4

1 head romaine lettuce
½ cup shredded green cabbage
½ cup shredded red cabbage
2 medium carrots, thinly sliced on the diagonal
2 radishes, thinly sliced into rounds
10 grape or cherry tomatoes, cut in half
½ English cucumber, cut into 1/8-inch slices
2 tablespoons thinly sliced red onion
¼-to ½ cup Cilantro-Lime Vinaigrette
1/3 cup jicama matchsticks (thinly sliced, cut into sticks about 2-inches long), optional
Kosher salt
Freshly ground black pepper
1/3 cup Crispy Oven-Roasted Chickpeas seasoned with cumin, smoked paprika, and cayenne
Small cilantro leaves, optional


Remove and discard any tough outer leaves from the romaine. Tear or cut the remaining head into 1-inch strips. Put in a large bowl.

Add the green and red cabbage, carrot, radishes, cucumber, red onion, and jicama, if using. Drizzle ¼ cup of the vinaigrette along the inside edges of the bowl. Gently toss all of the ingredients to combine and lightly coat the vegetables in the vinaigrette. Season to taste with salt and pepper and additional vinaigrette.

Serve family-style or divide among plates. Sprinkle the chickpeas over the top and add cilantro leaves, if you like.

Orecchiette with Tuscan Kale and Roasted Peppers

IMG_4393.jpg

Timing does not need to be perfect to pull off this dish. In fact, I often have some or all of the parts made ahead of time. This is a good one for me to have ready to go on a night when I drive my daughter to a lesson. Particularly if it’s swim class, I have a 10-minute window from the time we get home before her mood goes completely south!

The Make Ahead Plan
·      Toast the pine nuts on a baking sheet in a 325˚F oven, until golden brown, about 5 minutes. Transfer to a bowl. Increase the oven temperature to 400˚F and make the Crispy Oven-Roasted Chickpeas. Loosen them with a spatula, and leave on the baking sheet. They’ll be more chewy than crunchy, but still delicious.

·      Cook the orecchiette and drain in a colander, reserving about 1 cup of pasta water. Rinse under cold water until completely cooled. Line a baking sheet with a towel and pour them out on it and cover with another towel.

I used to really dislike recipes that called for 12 ounces of dried pasta, but now I sort of do it on purpose. I will always cook the full pound knowing I will have some leftover. Usually it ends up in soup.

·      Cook the kale and keep in the sauté pan. Cut up the roasted peppers and add to the pan. Give a quick reheat when you get home and pick up the instructions below where the pasta is added. You might need to add a bit more liquid as you reheat.


Recipe

Serves 6 (or in my house 3 with leftovers for lunch the next day or two)

12 ounces dried orecchiette (three-quarters of a box)
Extra-virgin olive oil
1 cup ¼-inch diced white onion
2 garlic cloves, peeled and smashed
8 cups torn Tuscan kale leaves in 1-inch pieces
¾ cup water
2 teaspoons red wine vinegar
Kosher salt
Freshly ground black pepper
2 whole roasted red peppers (that’s usually what’s in a 12-ounce jar), cut into ¼- by 3-inch strips
3 tablespoons pine nuts, toasted
Parmigiano-Reggiano, optional
¾ cup Crispy Oven-Roasted Chickpeas with garlic and parsley

Bring a large pot of salted water to a boil.

Heat a film of oil in a large sauté pan (with a lid, you’ll need it later) over medium heat. Stir in the onion and garlic and cook, stirring often, until the onions are a light golden brown, 6 to 8 minutes. Add the kale and water. Cover the pan and lower the heat to medium-low. Let the kale steam, stirring once or twice, until beginning to soften, about 5 minutes.

Remove the lid and continue to cook until the kale is completely tender, up to 10 minutes more. If the pan begins to dry out, add a little more water, about a tablespoon at a time, and continue to cook until the kale is tender.

While the kale is cooking, add the orecchiette to the boiling water and cook according to the manufacturer’s instructions, about 11 minutes.

Remove the garlic cloves from the kale. Stir in the vinegar and season to taste with salt and pepper. Add the roasted pepper strips.

Drain the pasta, reserving about 1 cup of the pasta water.

Add the pasta to the kale mixture, stirring to incorporate. Add pasta water a little at a time to thicken the mixture as you are stirring. (You won’t use it all.) Depending on my mood, I might use a Microplane to add about ¼ cup grated Parmigiano-Reggiano at this point. Season to taste with salt and pepper. Stir in the toasted pine nuts.

Serve family-style or divide among bowls. Top with the crunchy chickpeas. Using a wide vegetable peeler, peel shavings of the Parmigiano-Reggiano over the top, if using.

My daughter's portion. And, she ate the whole thing!

My daughter's portion. And, she ate the whole thing!

Crispy Oven-Roasted Chickpeas

IMG_4390.jpg

These are fast, easy, and super adaptable. True, they make a terrific snack on their own, but I really like them with other things, like a bowl of pasta, a freshly tossed salad, or even on top of a chili or thick soup.

I think these are best when warm and crunchy, but definitely still tasty if made ahead. They will be chewier as they cool.

When choosing the spice or herbs, think about what you are eating them with (suggestions below). Salt and any ground spices should be tossed on before roasting and any freshly chopped herbs after. The fresh herbs will want to fall off, but I still like using them for the color and bright taste they add. If I am putting the chickpeas in a bowl for a snack, I’ll usually wait and sprinkle the herbs on after they are in the bowl.

Peeling chickpeas takes a little extra time, but with this hazelnut-like method you will have a better end result.

This recipe easily doubles for a larger batch.


Recipe

Makes 1 cup

One 15-ounce can chickpeas
1 ½ tablespoons oil (I like avocado oil and extra-virgin olive oil, but for an Asian twist, use a bit of sesame oil.)
½ teaspoon kosher salt
¾ to 1½ teaspoons dried spices (and/or 1 to 2 teaspoons finely chopped fresh herbs)

A Few Suggestions
·      Orecchiette with Kale and Roasted Peppers
1 ½ tablespoons extra-virgin olive oil, ½ teaspoon kosher salt, and 1 teaspoon granulated garlic before roasting and 1 teaspoon finely chopped chives or flat-leaf parsley after

·      Almost Anytime of Year Crisp Salad  with Cilantro-Lime Vinaigrette, great chili topper, or spicy snack version
1 ½ tablespoons avocado oil, ½ teaspoon kosher salt, ½ teaspoon ground cumin, ½ teaspoon smoked paprika, and a generous pinch of cayenne before roasting and 1 teaspoon finely chopped cilantro after

·      Mixed greens dressed with Sesame-Lime Vinaigrette, on top of fried rice, or as part of a noodle bowl
1 tablespoon Avocado oil, ½ tablespoon toasted sesame oil, ½ teaspoon kosher salt

·      Vegetable Stews and Curries
Avocado oil, salt, and 1 teaspoon curry powder


Preheat the oven to 400˚F.

Pour the chickpeas in a fine-mesh strainer and rinse under cold water. Shake the strainer to drain. Spread the chickpeas on a clean towel, fold over the towel, and lightly roll around between the layers to dry the chickpeas and remove their skins (see photo below). Pick out and discard the skins. Transfer the chickpeas to the bowl, removing any remaining skins, leaving any on that are too tough to remove.

Put the chickpeas in a bowl large enough to toss them. Drizzle with the oil, followed by the salt, then the spices to taste (err on the side of less). Toss or stir to evenly coat.

Spread on a small baking sheet. (They will fit on a quarter sheet pan which measures 9-by 13-inches.) Roast, until crisp and dry, 20 to 25 minutes, shaking the pan every 10 minutes.

Remove from the oven and sprinkle with any fresh herbs, if using. Shake the pan to evenly distribute. Transfer to a serving bowl for snacking or use in the recipe or your choice.

IMG_4389.jpg

Add-On Cookies

IMG_4251.jpg

Not sure why I always seem to want to bake in February with my daughter, Aurora. Sure we make cookies around the holidays, but there is something about the post holiday, settling into winter, when I am definitely ready to grab a few cookies. Usually I justify them after a run with a second or third cup of coffee.

This recipe has played a bit of telephone tag over the years. I made it for the first time when I worked on Robert Steinberg’s and John Scharffenberger’s The Essence of Chocolate (Hyperion, 2006). The recipe, Chocolate Chunk Cookies came from Joanne Chang, chef and owner of the Flour Bakery and Cafe in Boston. She used two kinds of chocolate. For years I stuck along the same lines, and gratefully reflect on an article Diane Peterson wrote about me in The Press Democrat, February 24, 2015. I used larger chips like the Guittard or Ghirardelli semi-sweet and put in big hunks of walnuts for my husband. When my daughter got to cookie helping and eating age, I only made half with walnuts. Then one day when I thought I had chocolate chips and I didn’t, I tossed in the end of a bag of trail mix. With subsequent batches, I thought why not make everyone happy, divide it and make a little bit of dough with what everyone likes.

A few suggestions –
·      coarsely chopped milk chocolate and semisweet chocolate chips (with or without walnuts)
·      coarsely chopped semisweet chocolate and dried cherries (with or without hazelnuts)
·      coarsely chopped dates, dried figs, and almonds
·      coarsely chopped dried mango, dried banana, and/or large flakes of coconut, and cashews
·      mixed dried berries
·      raisins and oatmeal
·      the odds and ends of any and all bulk fruit and nuts that you have left in the pantry

Do you like flatter, crisper cookies or thicker softer-centered cookies? This recipe can give you both. See method.


Recipe

Makes about 3 dozen cookies

1¼ cups all-purpose flour
1 cup bread flour
1 teaspoon baking soda
½ teaspoon kosher salt
16 tablespoons unsalted butter (8 ounces), at room temperature
¾ cup granulated sugar
¾ cup firmly packed light brown sugar
2 large eggs
½ teaspoon pure vanilla extract
2 to 2 ½ cups chopped chocolate, chocolate chips, trail mix, nuts, dried fruits, or a combination (If going heavy on the chocolate, keep it closer to 2 cups.)


Position the oven racks in the lower and upper thirds of the oven and preheat to 350˚F. If you have an oven with a convection setting, use 325˚F convection.

Line two baking sheets with parchment paper or silicone baking mats.

In a medium bowl, whisk together the all-purpose and bread flours, the baking soda, and salt.

In the bowl of a stand mixer fitted with paddle attachment, cream together the butter and both sugars on medium speed until pale, light and fluffy, 5 to 7 minutes. Scrape down the sides and bottom of the bowl. Add the eggs and vanilla and beat until just combined. (Over mixing at this point can deflate the dough later.) Scrape down the bowl.

Turn off the mixer and add the combined dry ingredients. Pulse and mix on the lowest speed to start to incorporate and keep the flour from flying out of the bowl. Then mix on low, just until the flour is blended, 2 to 3 minutes.

Remove the bowl from the mixer, divide as needed, and fold in the add-ons.

Personally, I like to use a small ice cream scoop for more uniform cookies. And I find the scoop makes it much tidier to work with. Scooping is also a great way to prep for freezing to have cookie dough on hand, see below.

If you like cookies that are thinner and a bit crisper, you can scoop and bake while the dough is still soft. Or refrigerate for up to 3 days. Drop the dough a scoop at a time, about 2 inches apart onto the prepared pans. If the dough has been refrigerated, flatten slightly and let the dough warm up for about 20 minutes or so before baking.

If you prefer cookies that are a little thicker, with a slightly softer inside, I suggest refrigerating the dough until cold, at least 2 hours, but preferably overnight (or up to 3 days). Drop the dough a scoop at a time, about 2 inches apart onto the prepared pans, flatten slightly, and bake.

If making ahead (or a larger batch as I often do), drop a scoop at a time, about ½ inch apart and fill up the pan. Cover the top of the pan with plastic wrap and freeze until solid. Transfer each kind to its own resealable plastic bag or airtight container and return to the freezer. Be sure to label them. A raisin can look a lot like a chocolate chip when frozen.

Bake until golden, rotating the pans halfway through baking, about 15 minutes depending on how cold the dough is.

Transfer the cookies with a spatula to a cooling rack to cool completely.

The cookies can be stored in an airtight container for up to 3 days.